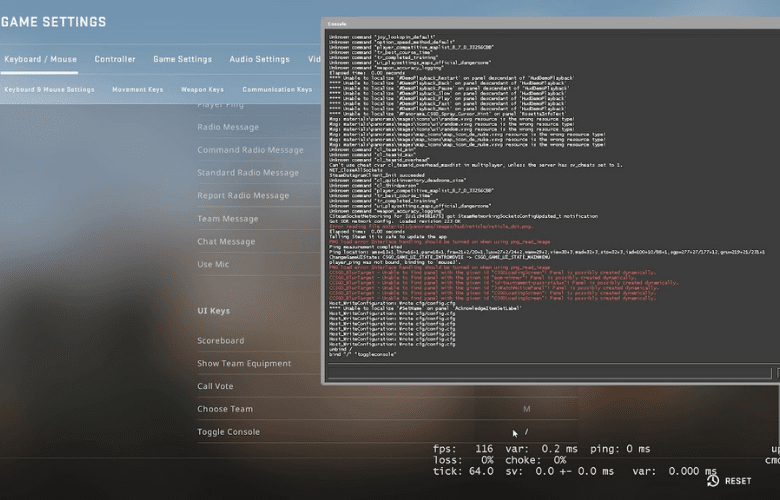
The standard game menu provides access to CS:basic GO’s settings. For beginners, it may be sufficient to use only these. Advanced players, on the other hand, may be interested in fine-tuning the various features. This is doable using the CS:GO console commands. There are a plethora of them, which are detailed in this CS:GO guide.
What exactly is the CS:GO console?
To create a game, developers must write a large amount of programming code. It controls the appearance of virtual objects, their behavior in virtuality, and all other aspects of the game world. They can do anything to any game by using programming code. Developers safeguard their products against unauthorized intrusions in order to avoid destroying everything they have worked so hard to create. However, some developers allow a limited number of special programming commands, which are able to change the game code in a particular way. This is applicable to CS:GO.
Valve Corporation has a long list of CS:GO commands that can be entered into the special developer console by any user.
How to launch the CS:GO developer console?
To begin, we must enable this feature in the game menu. To accomplish this, you must:
1. Go to “Options -> Game Setting.” This menu is accessible both at the start of the game (via the “Options” tab in the upper left corner) and during the game process (“Esc -> Help & Options -> Game Setting”).
2. Locate the item “Enable Developer Console” in the list and press the arrows to indicate “Yes.”
Simply press the tilde button (~) to bring up the console in the game. Then you can use any of the CS:GO console commands. If the console does not open in CSGO, try the next solution. SteamSteamAppscommonCounter-Strike Global Offensivecsgocfgconfig.cfg (sometimes configdefault.cfg), open.cfg with any notepad, and find and change toogleconsole. As a result, toogleconsole =”‘” should be returned. So you now understand how to enable console in CS GO.

